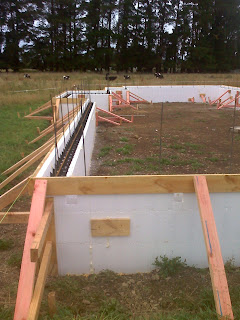
It all started with the excavations for the footings - done back in January.


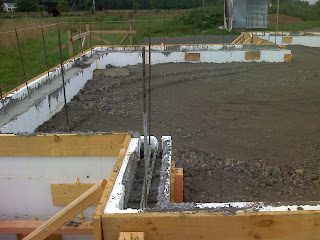
The foundation is then poured, and the centre of the slab filled with gravel. The final floor height will be 900mm above the ground (to remain well above any flooding from our water race).
 Here's Robin dumping a load of 40mm basecourse. This is the last layer of gravel to go on before the sand and then black plastic.
Once all the prep is done the foundations are ready for the final pour. Ours was delayed a few days due to bad weather but when I arrived at the site that evening, this is what I saw...
 Needless to say I was very happy! The kids were too as the could immediately see the skateboarding potential.
Apologies for the terrible layout - I'm still learning how to drive this interface...


No comments:
Post a Comment